Skip to content
Gaming across devices · A Tech Life Hybrid publication
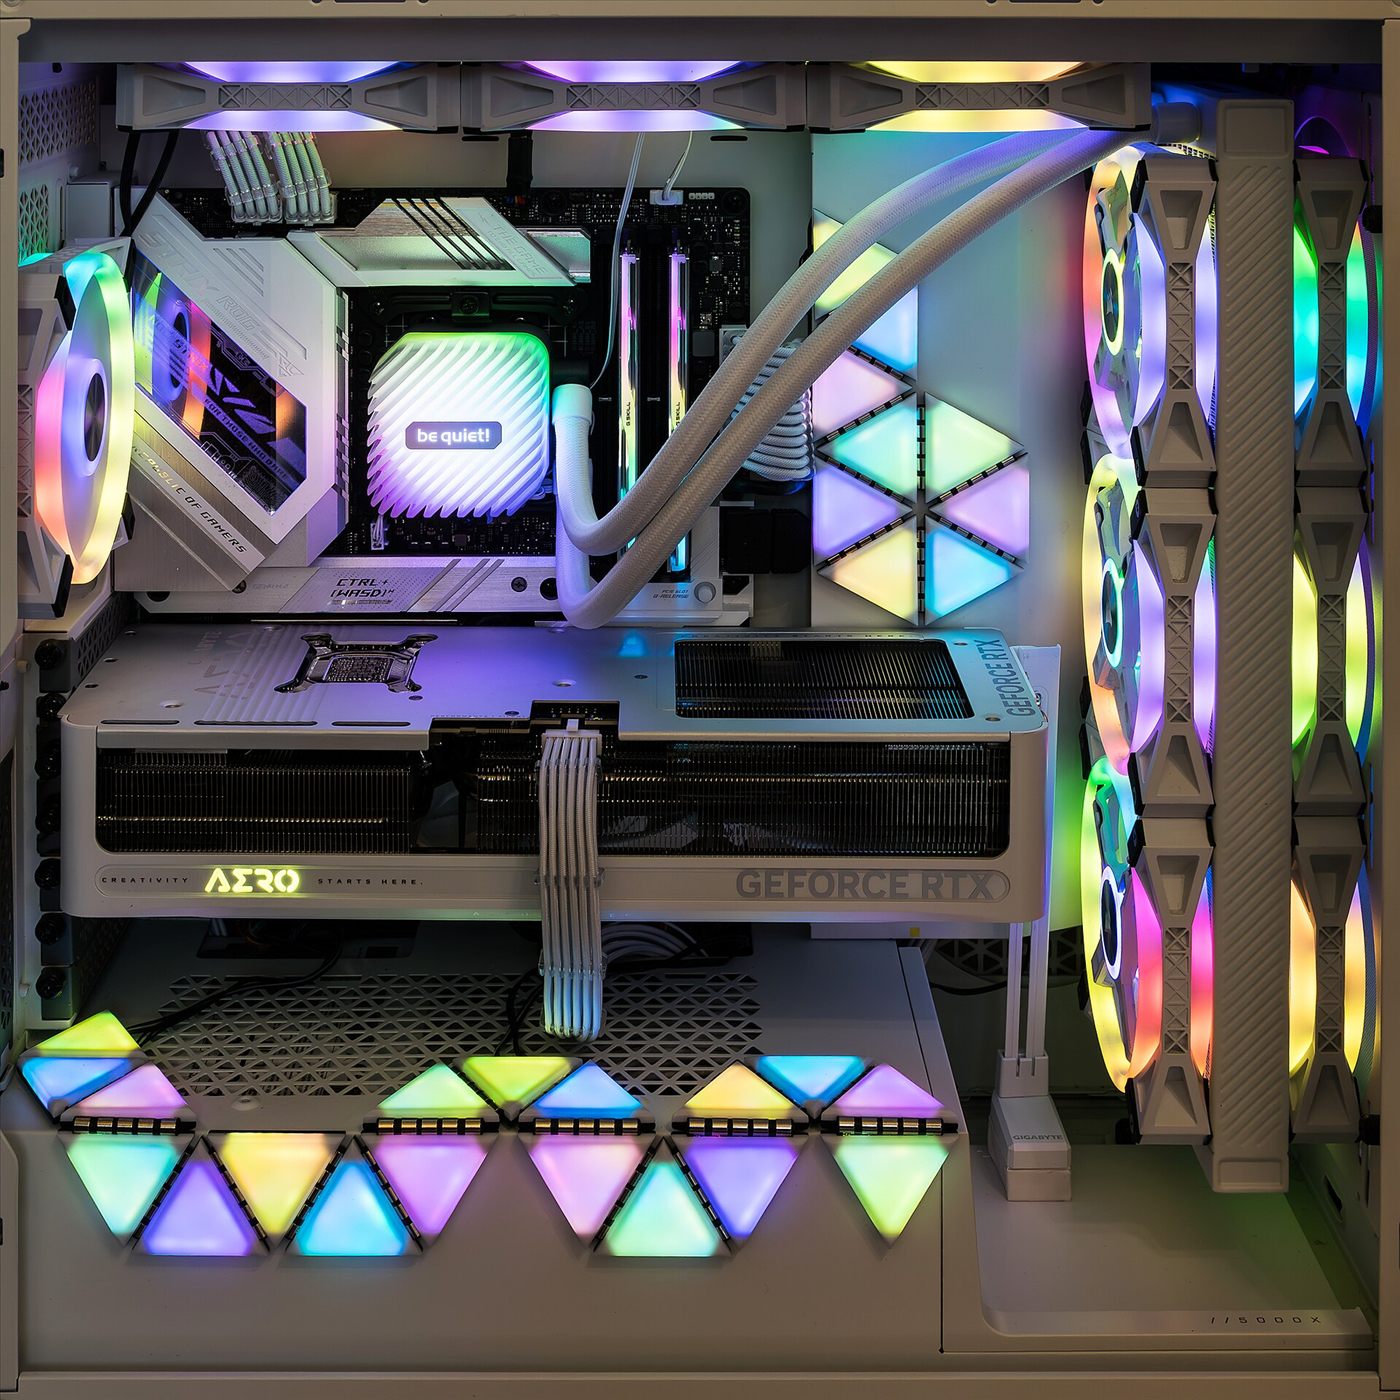
A white show build with a GeForce RTX card and RGB fans

Hub 01 · PC Lab

Build it yourself.

Three illustrative component shortlists and practical setup guidance. Check current prices, compatibility and official specifications before buying.

Entry bench

First Tower

Starter concept · price not live

An illustrative 1080p parts shortlist. Verify current prices, component fit and motherboard support before buying.

CPU
Ryzen 5 7600
GPU
RX 9060 XT 8 GB
Memory
32 GB DDR5-5600
Storage
1 TB NVMe Gen4
Power
650 W 80+ Gold

Check whether your boxed CPU includes a cooler and whether that cooler fits your workload and case. Confirm memory support against the motherboard documentation.

The sweet spot

Midnight Middle

Midrange concept · price not live

An illustrative 1440p parts shortlist. Performance depends on the game and settings; GTA VI PC requirements have not been announced.

CPU
Ryzen 7 9800X3D
GPU
RTX 5070 Ti 16 GB
Memory
32 GB DDR5-6000 CL30
Storage
2 TB NVMe Gen4
Power
850 W ATX 3.1

Compare CPU performance in the games you use, then confirm BIOS compatibility and supported memory. Price-to-performance depends on current local prices.

No ceiling

No Ceiling

Flagship concept · price not live

An illustrative high-end shortlist for demanding workloads. No guaranteed 4K frame rate or measured benchmark is claimed.

CPU
Ryzen 9 9950X3D
GPU
RTX 5090 32 GB
Memory
64 GB DDR5-6400
Storage
4 TB NVMe Gen5
Power
1200 W ATX 3.1

Start with manufacturer defaults. NVIDIA’s full RTX 5090 specifications list 1000 W system power with configuration-dependent guidance; exact partner cards can differ. Optional voltage or memory tuning requires stability checks and may affect warranty coverage.

How to build, in order

Ten steps from a box of parts to a booting machine. Do them in this order and nothing fights you. Your first build takes an afternoon; your third takes an hour.

  1. 01

    Prep the bench

    Clear a big table, not a carpet. Open the case, drop both side panels, and lay the motherboard on its box. Static is rare but free to avoid: touch the metal case before you touch a chip.

  2. 02

    Seat the CPU

    Lift the socket arm, line the gold triangle on the chip to the triangle on the socket, and set it down. Zero force. If it does not drop flat, it is misaligned, never pushed.

  3. 03

    Install memory

    Use the memory slots specified by the motherboard manual; A2/B2 is common but not universal. Align the notch and follow its retention mechanism. Do not force a module that is misaligned.

  4. 04

    Mount the M.2 drive

    Angle the SSD into its slot, press flat, and secure the tiny screw or latch. Peel the thermal pad film if the board has a heatsink. This is your OS drive; do it now while the board is bare.

  5. 05

    Attach the cooler

    Follow the CPU and cooler manufacturer’s paste, mounting pressure and header instructions. Air-cooler fans, liquid-cooler pumps and monitoring connectors can use different headers. Remove protective films where specified.

  6. 06

    Drop the board in

    Fit the I/O shield, set the brass standoffs to match your board size, then lower the board onto them and screw down in a star pattern. Snug, not gorilla-tight.

  7. 07

    Install the GPU

    Pull the top PCIe x16 slot latch, line the card to the rear bracket, and press until it clicks. Screw the bracket down so the card does not sag over time.

  8. 08

    Wire the power

    Connect motherboard, CPU and GPU power using the motherboard, card and PSU manuals. CPU EPS and PCIe cables are not interchangeable. Use only cables approved for that PSU, fully seat connectors and follow GPU cable bend guidance.

  9. 09

    Front panel and fans

    The tiny power, reset and LED leads go on the front-panel header per the manual diagram. Fans to their headers or a hub. Take the two minutes to read the legend.

  10. 10

    First boot and BIOS

    Confirm the supported CPU/BIOS combination and follow the motherboard’s update procedure. Begin with default memory settings, check cooling and stability, then install the OS and official drivers. Optional XMP/EXPO profiles are overclocking; verify support and warranty terms first.

The words, decoded

Every spec sheet acronym that scares off first-timers, in one plain sentence each.

TDP
A manufacturer-defined thermal design figure. It is not a universal measure of peak system draw; use the part’s official cooling and power guidance.
XMP / EXPO
Optional memory overclocking profiles. Supported speeds depend on the CPU, motherboard, BIOS and memory kit; check compatibility and warranty terms.
VRAM
The graphics card’s local memory. Required capacity depends on the game, texture settings and resolution; consult game requirements and measured workloads.
Bottleneck
A limit imposed by part of a workload, such as CPU, GPU, memory or storage. It changes with the game, scene, resolution and settings; use measurements rather than a universal bottleneck percentage.
Undervolt
Reducing voltage is optional tuning, not a guaranteed improvement. Stability and performance can change; keep a record of defaults and restore them if errors occur.
Aspect of airflow
Positive pressure means more intake than exhaust, so dust enters through filters, not gaps. Aim for a slight positive balance and clean once a season.

Bench notes

Paste patterns are folklore

Use the application pattern and quantity recommended for the specific cooler and CPU. Pre-applied paste may not need additional material; follow mounting instructions.

Cables before the board goes in

Route the 24-pin, EPS and front-panel leads through the grommets while the tray is empty. Ten minutes here saves forty later.

Understand optional memory profiles

DDR5 default speeds vary. XMP or EXPO profiles can exceed standard settings; treat them as optional overclocking, confirm support and test stability.

Fan curves beat fan counts

Three well-curved intakes beat six screamers. Set a flat quiet curve to 60 C, then ramp. Your ears own the last 5 percent.

Finished builds live on the floor: visit the Rig Lab · what to play on it: the Playbook · argue about parts in the Lounge

Privacy and website measurements

Hybravell measures anonymous visits, popular pages, referring websites, country, device and visible page time to improve this website. We do not collect names, raw IP addresses, private messages or search text in these reports. Browser identifiers expire after one year; event history is retained for reporting. Do Not Track and Global Privacy Control are respected. Measurements start with this update; earlier visits are not reconstructed.